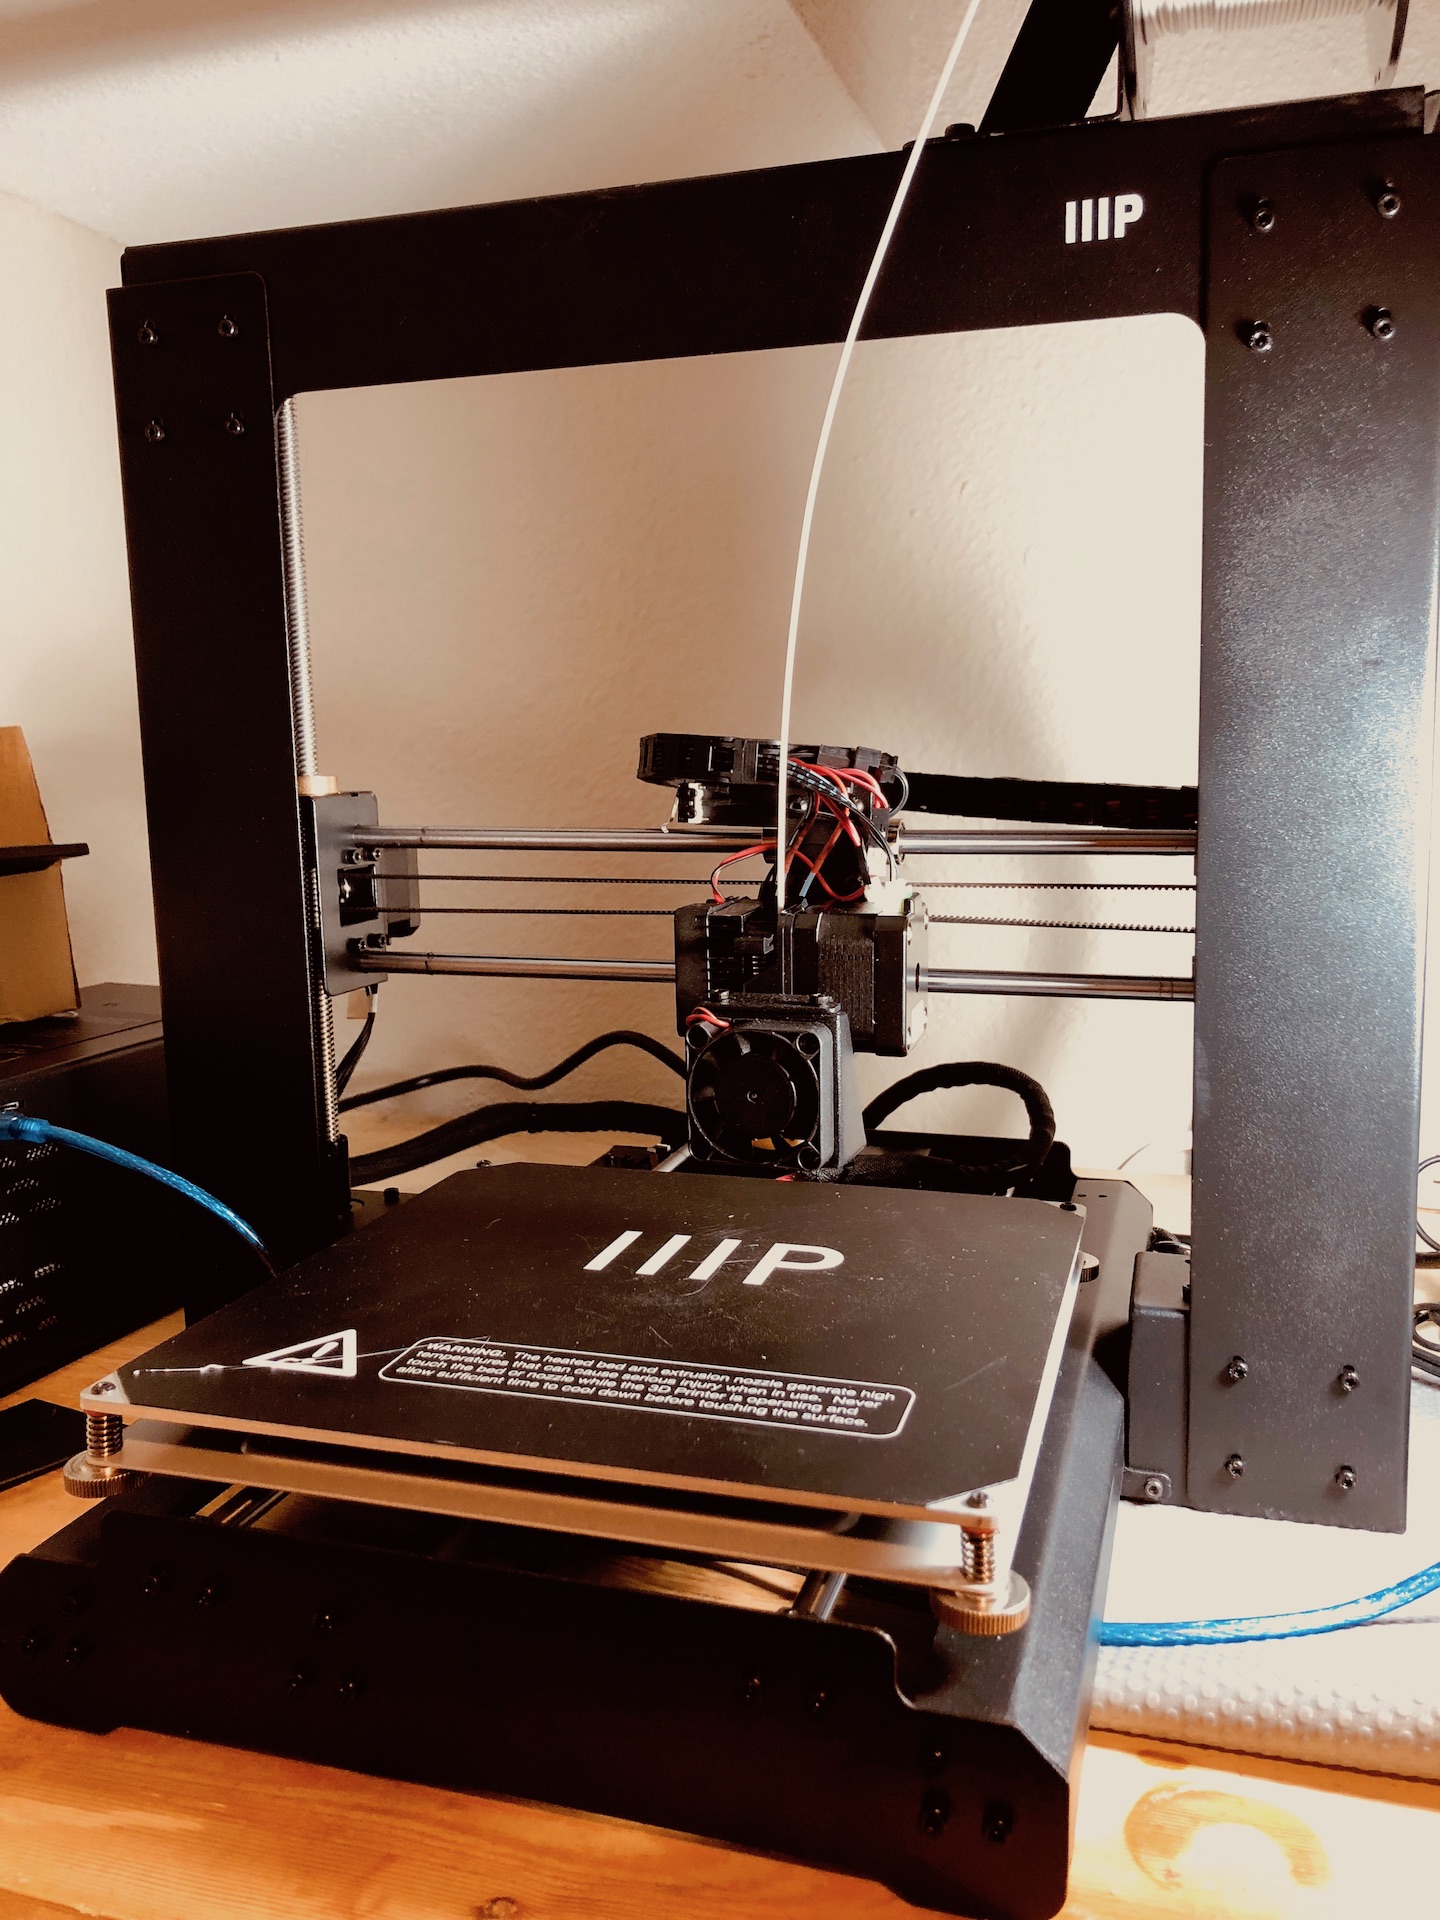
Just got a brand new Monoprice Maker Select 3D Printer for Christmas. This is my very first 3D printer so that means a new hobby has been born. Soon enough, I started learning what category my printer falls into – it’s features, capabilities, limitations, etc. After reading its manual and looking at some articles and videos online. I quickly realized that I’ve gotten a very open sourcey and “affordable” Chinese 3D printer. Don’t get me wrong, that’s all good – but knowing that piece of information helped me gather more details that were not obvious.
Here’s a few things that came to realization after doing research online about my printer and as a first time 3D printer owner.
Initial Thoughts
- Most 3D Printer clones uses Arduinos as the main microcontroller board
- If you need to print models from online marketplaces such as thingverse.com, you’ll need to download Ultimaker Cura software to slice/prepare model for 3d Printing.
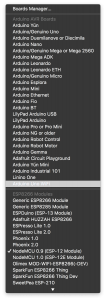
- The Monoprice Maker Select V2 is a clone of the WanHao i3 Duplicator v2 – This is important because you’ll need to know what firmware (software) the printer has before making and upgrade. And yes, you will need to upgrade your printer’s firmware for many reasons, but most importantly safety!
- As of Dec 2018, the firmware it carries from the factory is the Repetier v0.91
- No wireless printing, that’s right. You are stuck writing the gcode model into a SD Card, taking the SD card to the printer and start printing. That also means you cannot know the status of a current print, or even see what’s going on. Although, there are open source projects that offer a wide variety of monitoring, remote printing and much more, but it requires a Raspberry Pi. We’ll take a look at Octoprint in another post.
- Other important components about the printer that needs to be discussed in more details: filament, bed heat, extruder, slicer, build plate adhesion, etc.
The assembly of this printer wasn’t that bad, since most pieces were already put together. I just needed to place the bed and frame together and fasten it with a few screws along with motor connectors.
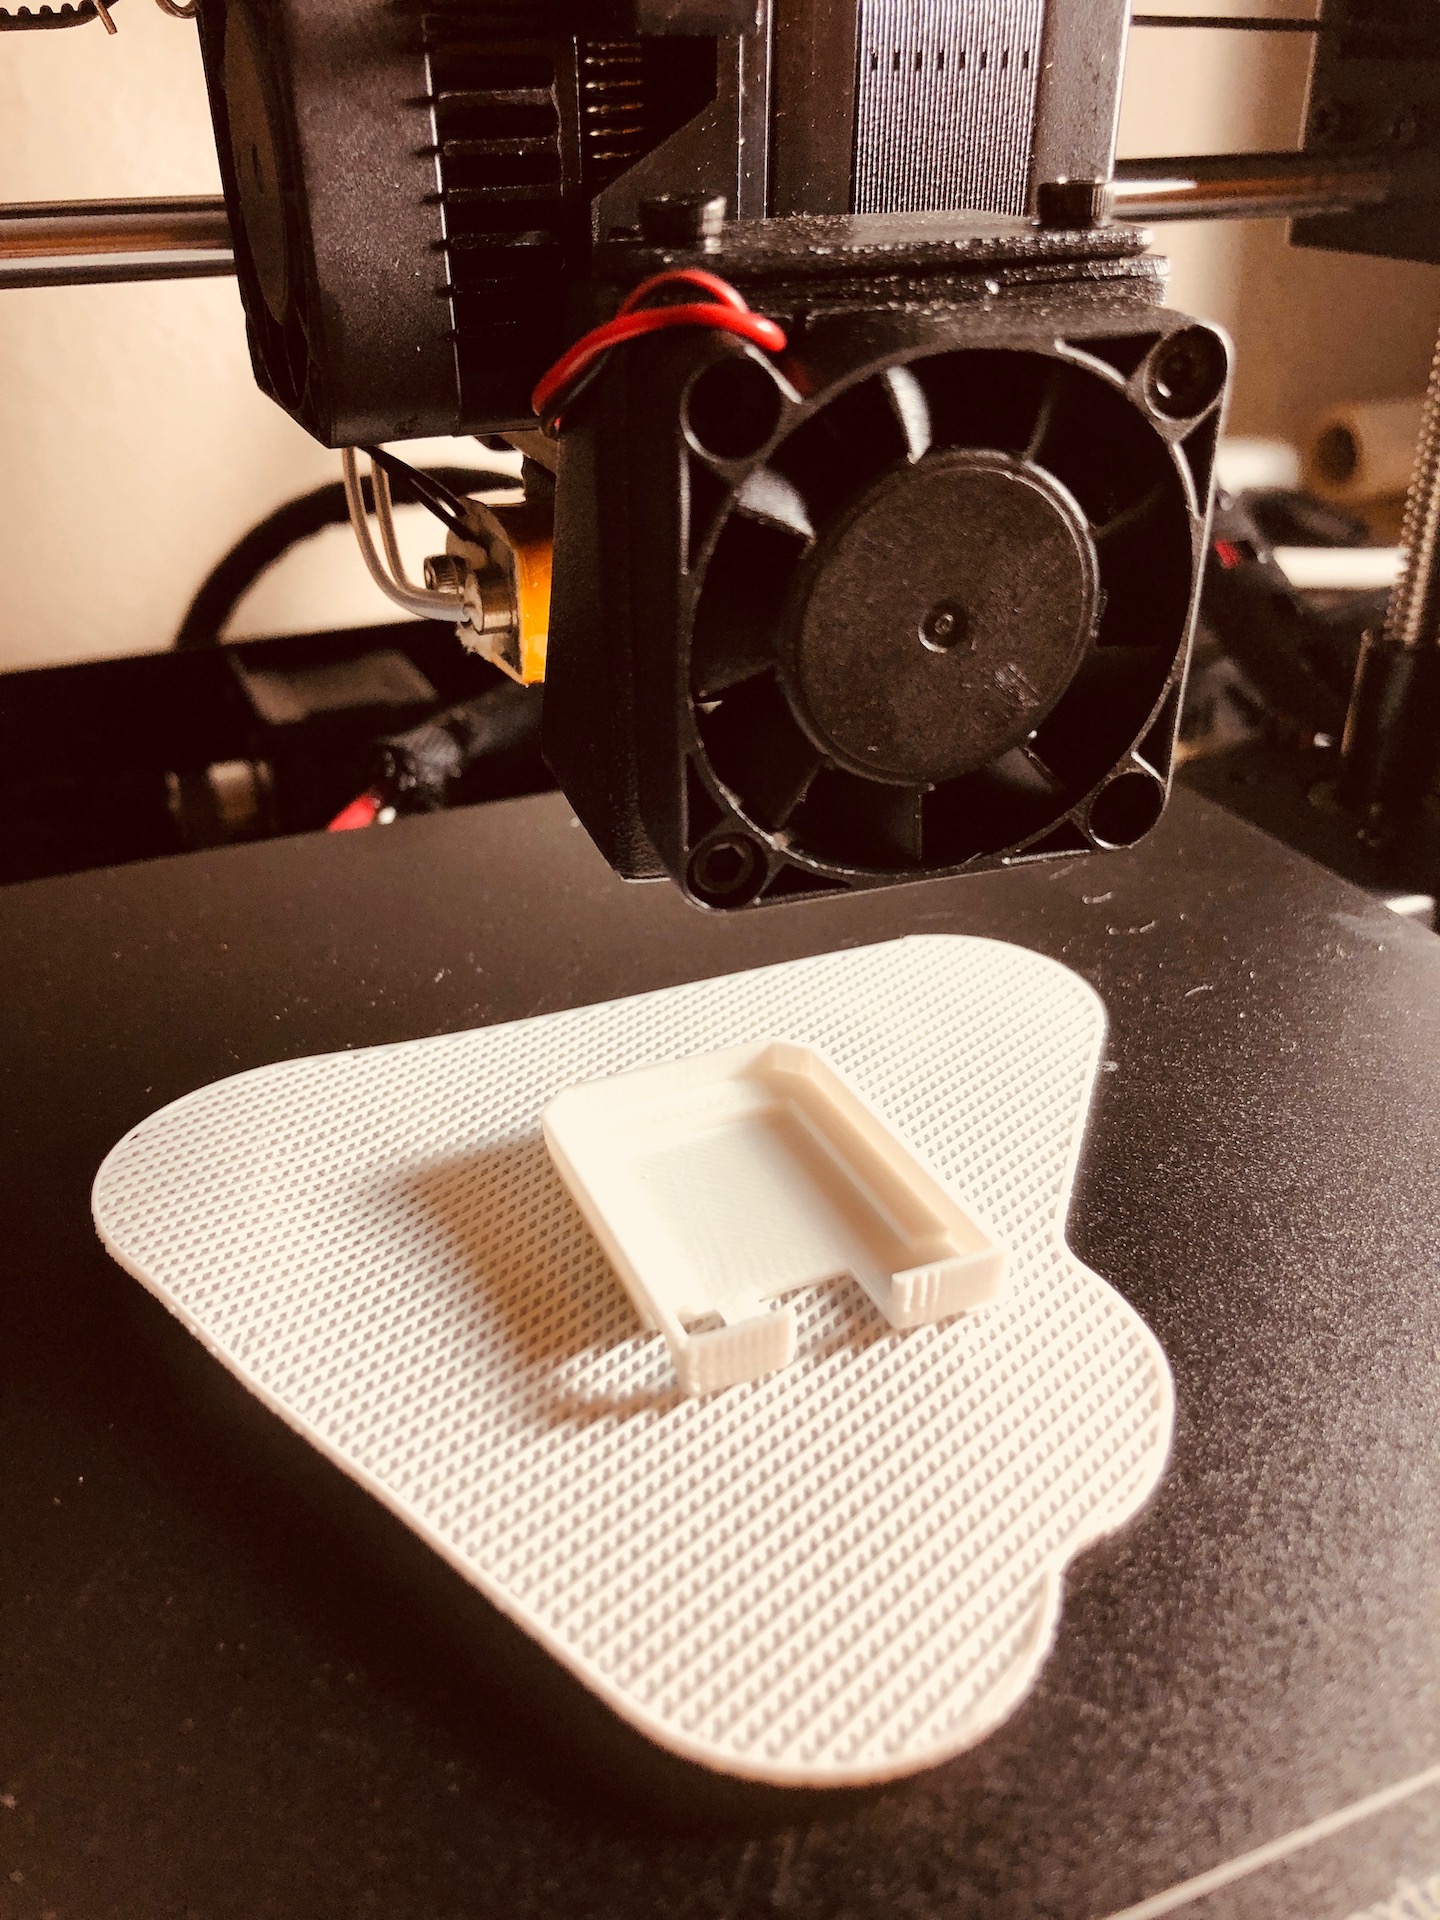
I really wanted to see how this guy prints, luckily it came with a SD Card and some preloaded models. Hence, I immediately set it to print something to see how this thing works.
I’ll add more to this post after more research and prints. For now, I’m trying to find the best case to house this project.